
Max width for stickers is about 16.5”. Make sure your artboard is not bigger than this.
Versaworks will change your direction if you exceed the width, which can result in wasted paper.
Versaworks will adjust to the length of your artboard, so there is no max size (except for the length of the roll of paper you are using).
Make sure your artboard is no longer than your sticker design (ie don’t leave blank space at the bottom). Otherwise Versaworks will process the blank space line by line, making your print take longer.
The sticker maker will both print and cut your designs. However, you must set up a cut line in order to direct the printer what to cut.
There are several ways to do this, if you have a preferred way, feel free to use it. Just make sure to follow the instructions to set up a specific color that is used for cutting.
Three methods are described below. You can use other methods, including image trace and cutting masks.
First, upload your graphic or image into Adobe Illustrator. Finish editing before creating your cutlines.
Some options for creating a cut line:
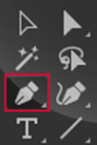
Use the pen tool to create a line around the shape where you want the image cut.
Remove fill from background leaving just the stroke
Merge your original image with your new background
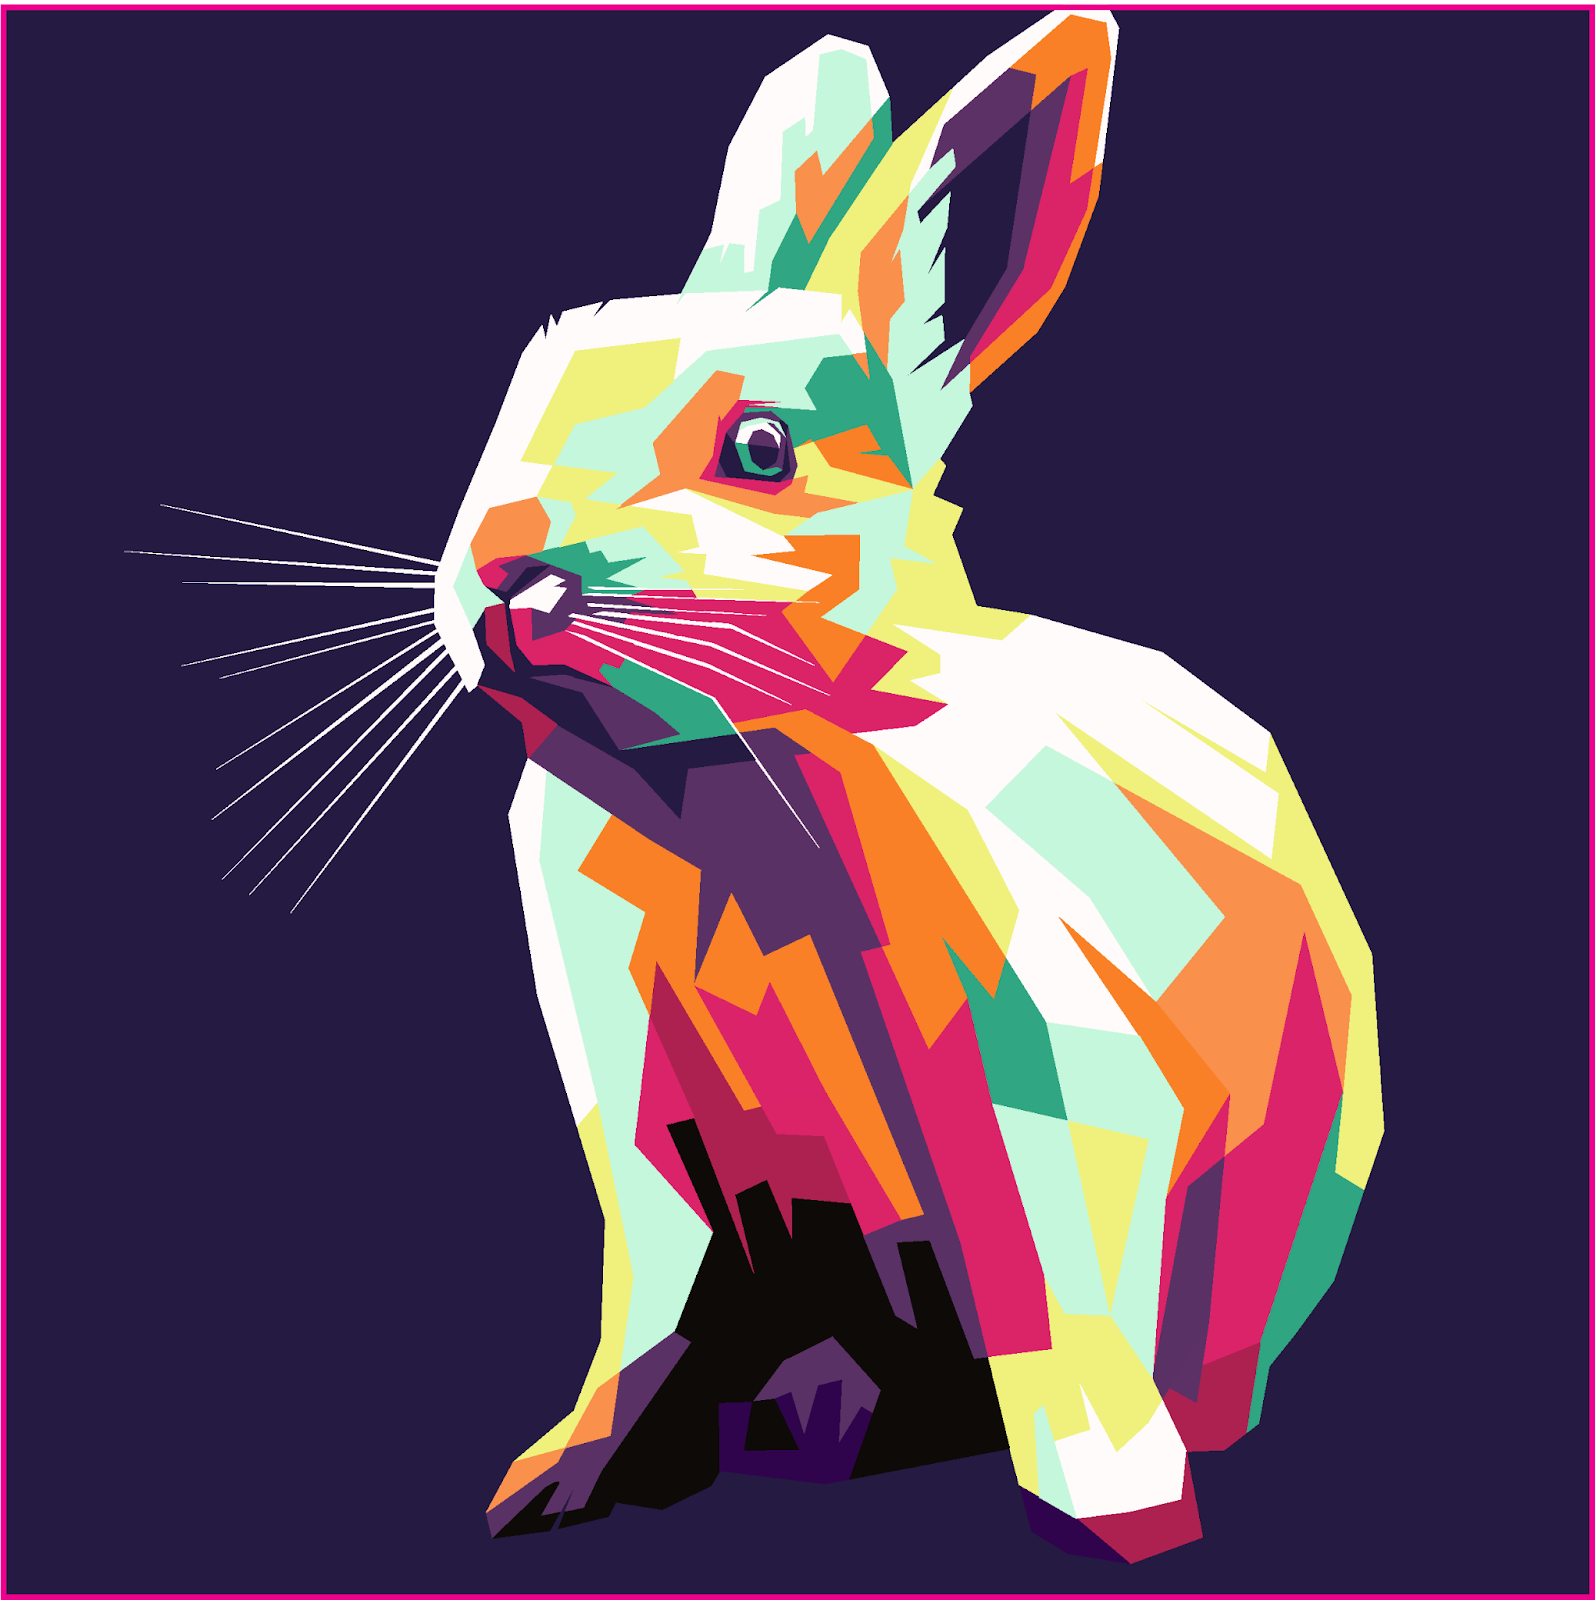
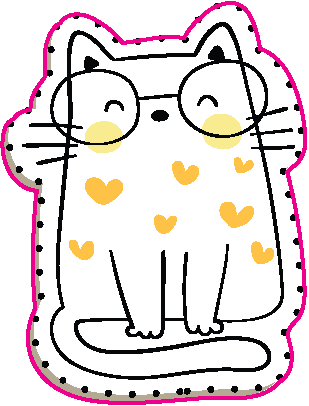
Sticker files courtesy of Vecteezy.com.
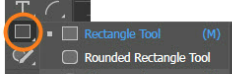
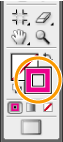
Right click on the shape to choose which style of shape you want to use.
Remove fill from the background leaving just the stroke.
Merge your original image with your new background
Make a copy of your original image.
Select the entire image that you just created
Using the pathfinder tool:
Select Merge
Select Unite
Select Offset Path if you want to create a bit of space between the object and where the sticker cuts out
If you use Offset Path, you will need to delete the inner object that is created through that process leaving only the outer image
Remove fill from background leaving just the stroke
Merge your original image with your new background
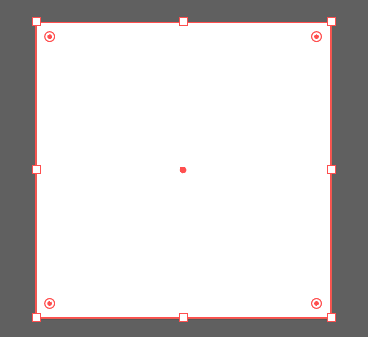
Once you have a cut background, you will then need to change the color of the line that surrounds your image.
Select the line you created around your sticker. If you used one of the methods above, you should have only an outline with no fill. If your item still has fill, make sure to remove it and only leave the stroke.
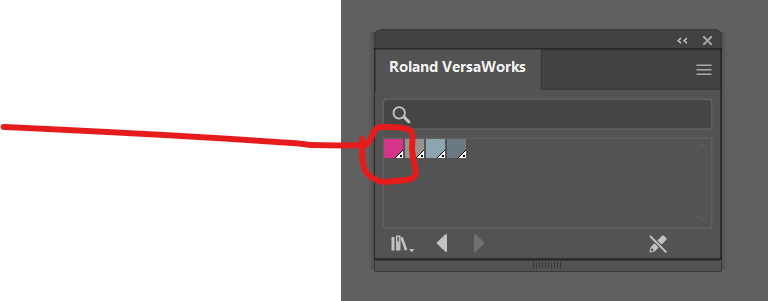
From the menu bar, click [Window] - [Swatches] - [Roland VersaWorks].
The [Roland VersaWorks] swatch library appears.
Select only the paths to be used as cut lines, and then select [Stroke] in the tool box.
From the swatch library, select the swatch named [CutContour].
The color of the selected paths changes to [CutContour].
From the Swatches window, click on the hamburger menu
Open the Swatch Library
Select Other Library Swatches
Choose, Roland Versaworks (this is a saved option on the computer next to the sticker maker)
Add to swatches
Tip: You can include multiple images in one file. We charge $4 per 16.5”W X 12”L. There is no reduction in price for smaller prints, so make use of the space.
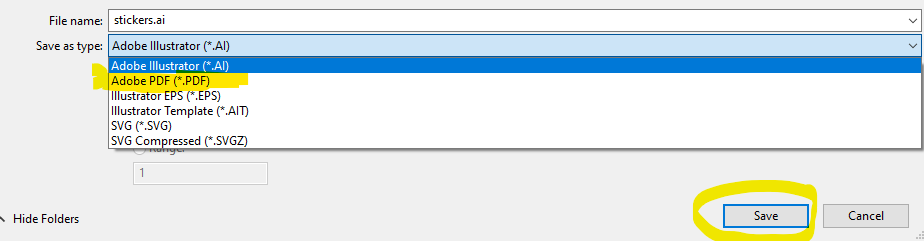
When your images are finalized and you have added a cut line for each save your file to the desktop as a PDF.
Files automatically wipe from the computer at the end of your session. Be sure to save a copy to a flash drive or Google drive if you want to keep a copy of your file.
You will upload this file to Versaworks to do the actual printing and cutting.
Printing and Cutting using Versaworks
Select Versaworks from the desktop
Select File → Add Job to Queue → Queue A
Then select your file from the desktop
Either double click on your file name or click on the settings icon towards the bottom of the screen
You should see hashed pink lines around your images. If you do not see these, your stickers will print, but will not cut out.
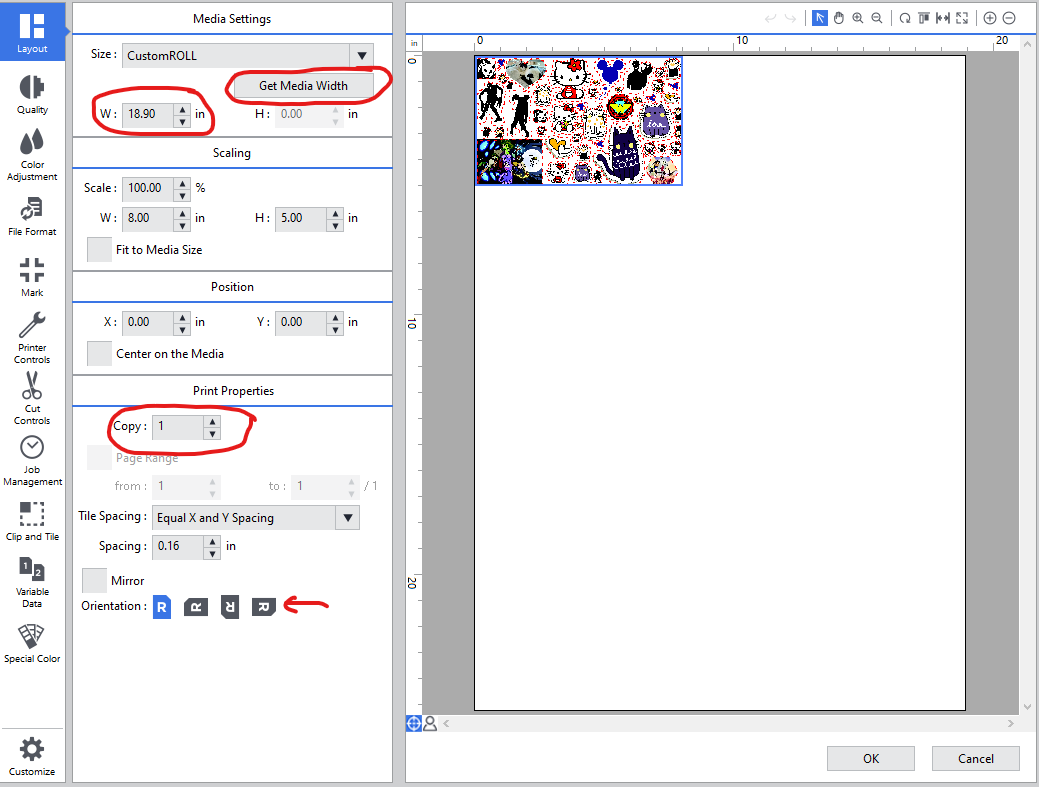
Check under the Layout section to ensure the machine has the proper size of paper
Click on “Get Media Width” and you will see the W: section update
Look at the paper on the right side of the screen and ensure that your file fits. You can adjust the orientation if it doesn’t.
If you want more than one copy, increase the number using the pull down. Your print will update on the right side of the page to show you how things will print out.
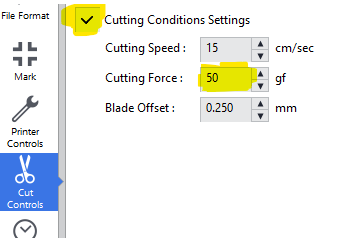
Next update the Cut Controls. For White Gloss Paper(default), select Cut Control → Cutting Force → Change the force from 50gf to 255gf.
Please ask for help if you are using a different type of paper.
Once your cut controls have been set, you need to RIP your file.
Click on the arrows to RIP. This process does take time.
Once the file has ripped you can print the stickers.
Make sure the paper is correctly loaded and the printer is on before you begin. Ask for help at the desk if you have never printed before.
Click on the printer symbol to begin the process
Your file will print first and then cut. Make sure that there is nothing blocking the paper from feeding back into the printer.
![]()
This project was made possible in part by the Institute of Museum and Library Services