Skip to Main Content
UNLV Logo

RefWorks Basics: Sharing and Collaborating

Learn how to use RefWorks

Sharing your Collections

RefWorks allows for sharing outside your institution as well as inside, however, each person you share your collection with will need a RefWorks account in order to view your research .

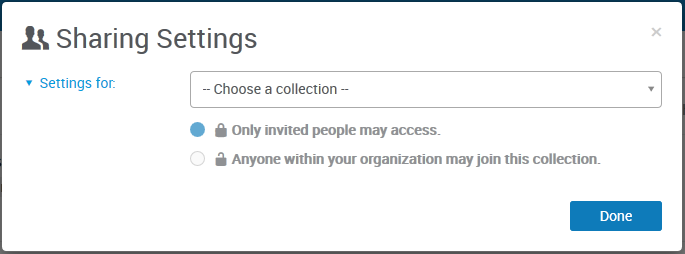
  1. Click the Share & Export icon  or the Sharing menu item to start
  1. Select the collection to be shared and the groups with whom you will share it.

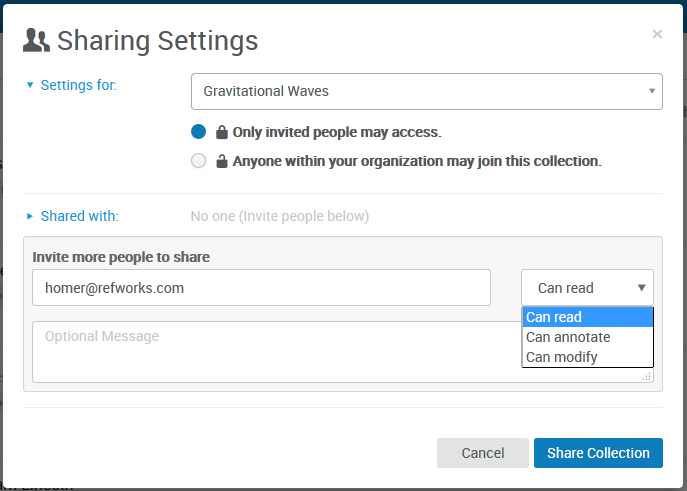
  1. Type the email address of the person (add one at a time) and select the level of access for the person you're inviting:
    • Read – view items and read documents
    • Annotate – view items, read documents, and annotate documents
    • Modify – view/read/annotate documents, edit existing annotations, add documents, remove documents, and add a note to an item

  1. Optionally, add a personal note
  2. Click Share Collection

The person you've invited will get an email notification, and a notification inside RefWorks, where they can accept (or reject) the invitation. If the person doesn’t have a RefWorks account, they will be asked to create one.

Remember, when you share a collection any sub-collections are also shared.


Viewing a collection's sharing status

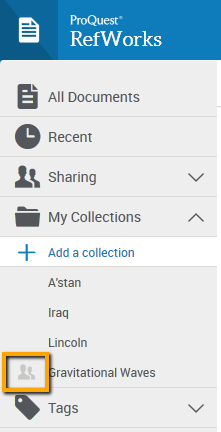
To view what collections you have shared, look for the sharing icon next to the collection name.
By selecting Sharing Settings from the menu, you can access the settings for your shared collection to modify them.
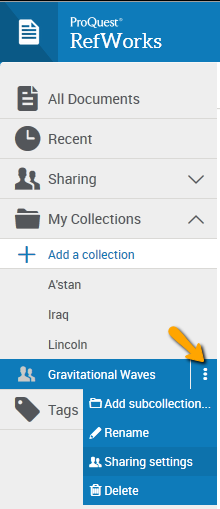
In the Sharing Settings you can also:
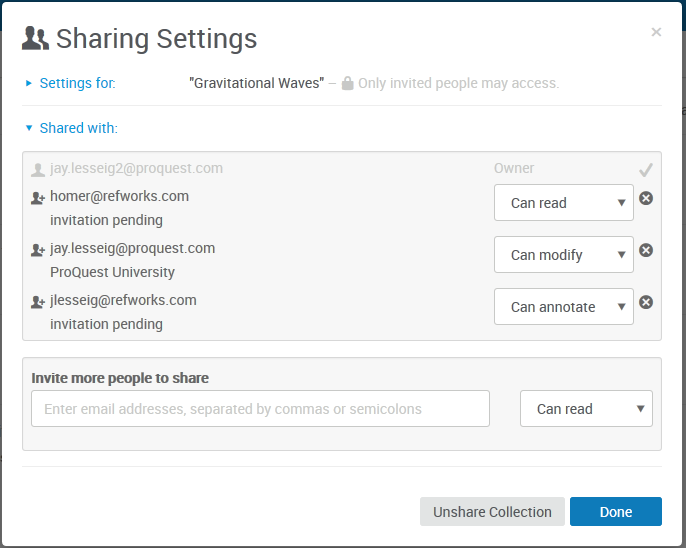
  • change the sharing from "private" to "institution" (which gives everyone in your institution access to your collection)
  • change individual access levels at any time after inviting someone
  • remove individuals from your collection by clicking the 'x' to the right of each address in the list

© University of Nevada Las Vegas